Follow the Steps to Connect Brightpearl to WooCommerce with ESB
Brightpearl Account Connection:
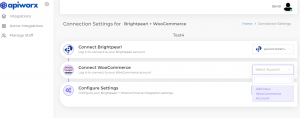
In the first step, connect your Brightpearl account by clicking the “Add New Brightpearl Account” button.
This action will redirect you to your Brightpearl account for further steps.
-
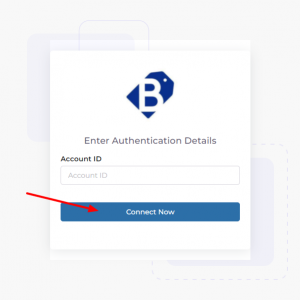
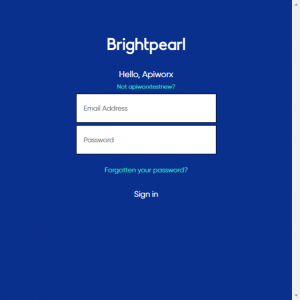
Enter your Brightpearl Account ID: Use the ID you typically use for logging in and click on the “Connect Now” button.
-
Log In to Brightpearl: Enter your credentials to access your Brightpearl account.
-
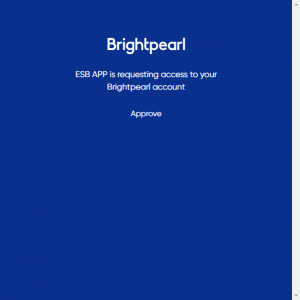
Grant Access: Click on “Approve” to allow ESB access to your Brightpearl data. Once this is done, proceed to set up your WooCommerce account.
-
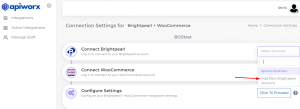
WooCommerce Account Connection: Click on “WooCommerce Select Account” and then add a new WooCommerce account.
-
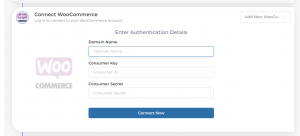
Adding a New WooCommerce Account: After clicking to add a new WooCommerce account, fill in the domain name, consumer key, and consumer secret. Then click on the “Connect Now” button to grant ESB access to your WooCommerce data.
You’ll be redirected back to the onboarding steps. Click on “Connect Now” to complete the process.
-
Obtaining Keys for WooCommerce: To get the consumer key and consumer secret, log in to your WooCommerce site.

-
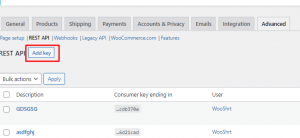
Accessing WooCommerce Settings: After opening the dashboard, navigate to WooCommerce “Settings” and click on the “Advanced” tab.

-
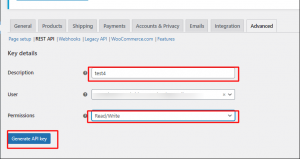
Generating the API Key for WooCommerce: In the REST API section, click on “Add Key.” Fill in all required fields such as Description, User, and Permissions.
-
Description: Enter a note here for your reference, indicating to whom you have issued these API keys.
-
User: Select a user for the “Read/Write” permission.
-
Permission: Choose “Read/Write.” Then, click on “Generate API Key” to create the key.