A Comprehensive Guide to Inventory Planner and Veracore Integration for Enhanced Inventory Management
Getting Started
Connection Process
-
Login to the ESB Connector: Use the shared login credentials.

-
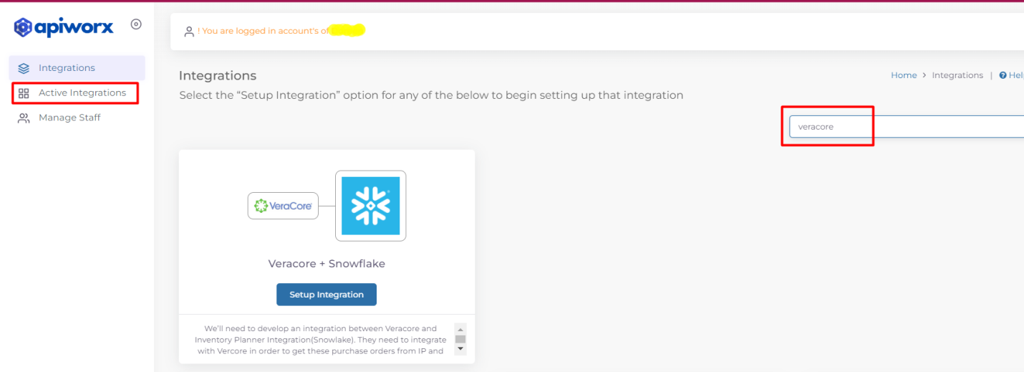
Search for the Veracore Snowflake integration then click on the ‘set-up integration’ button.
-
Enter a name to remember this integration and save it.

-
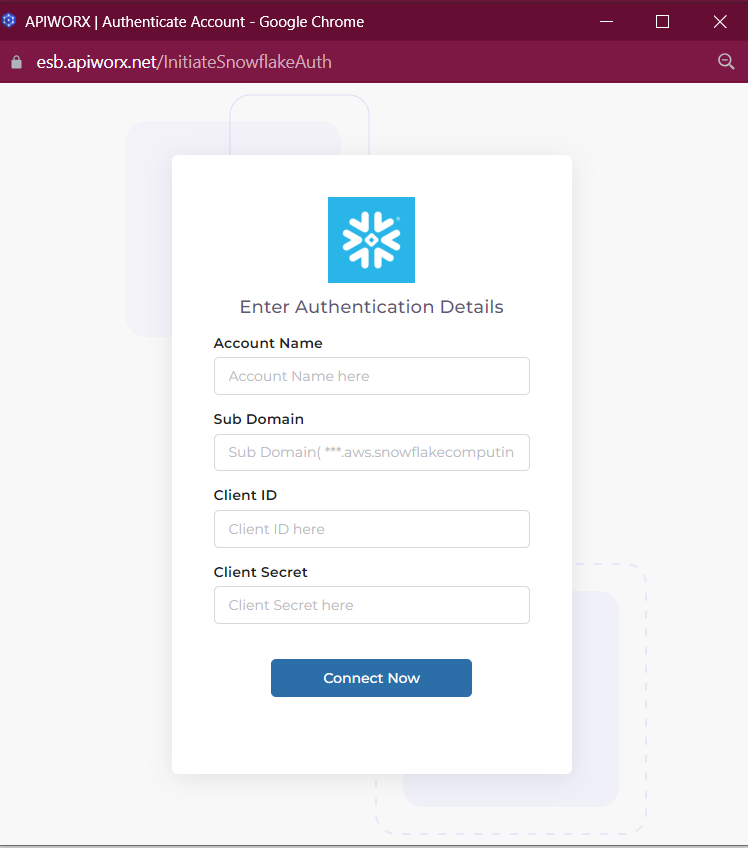
Connect Your Veracore and Snowflake Account

Steps for Connecting Accounts
-
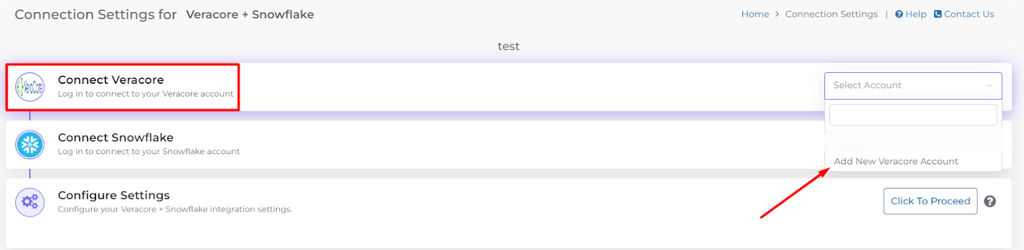
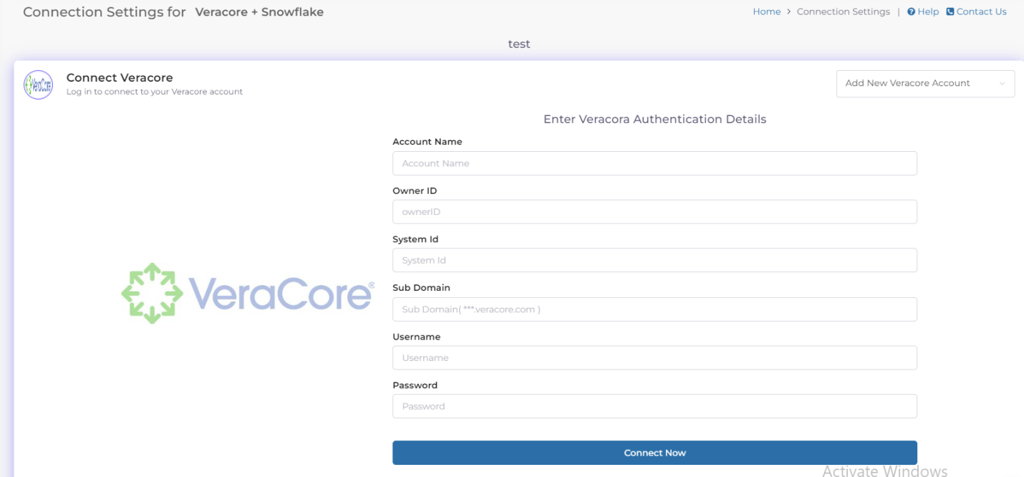
Veracore Account: Click “Add account” in the dropdown and enter the required details before connecting.
-
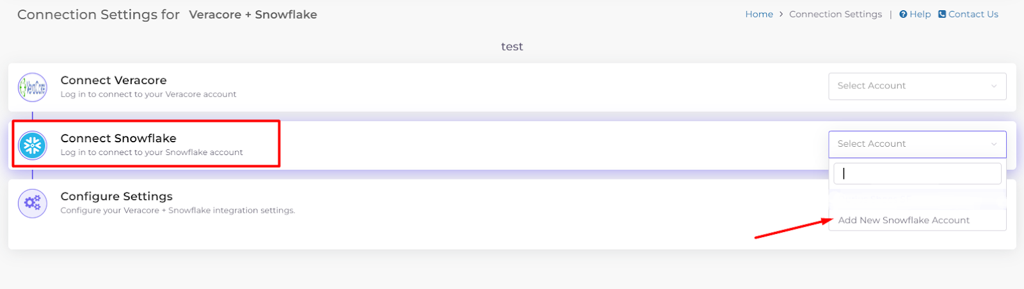
Snowflake Account: Similar steps as Veracore, involving adding account details and connecting.
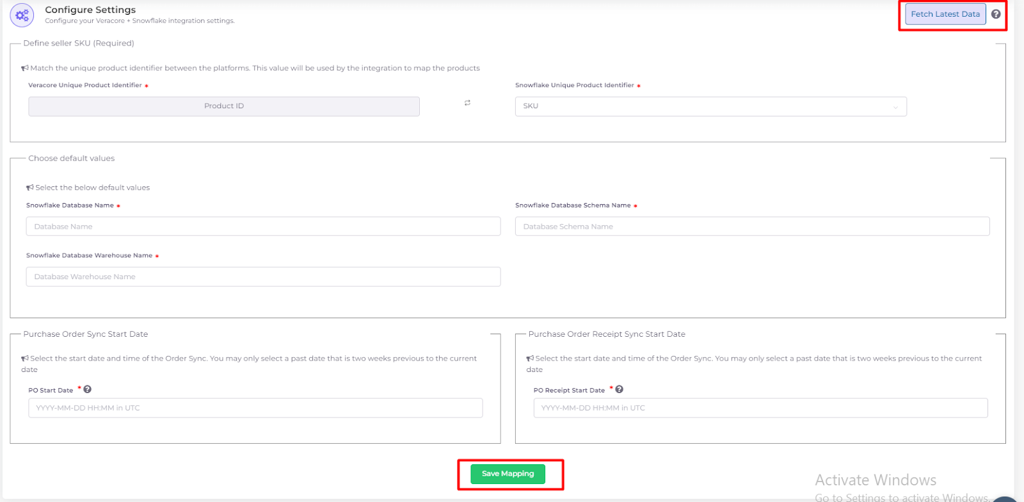
Configurations
Control various settings in the integration:
-
Product Identifier: Match unique identifiers between platforms.
-
Default Values: Enter your Snowflake database name, schema name, and warehouse name.
-
Sync Start Dates: Set start dates for Purchase Order and Purchase Order Receipt syncs.
Flows
Control data flows with toggle switches to enable or disable as needed.
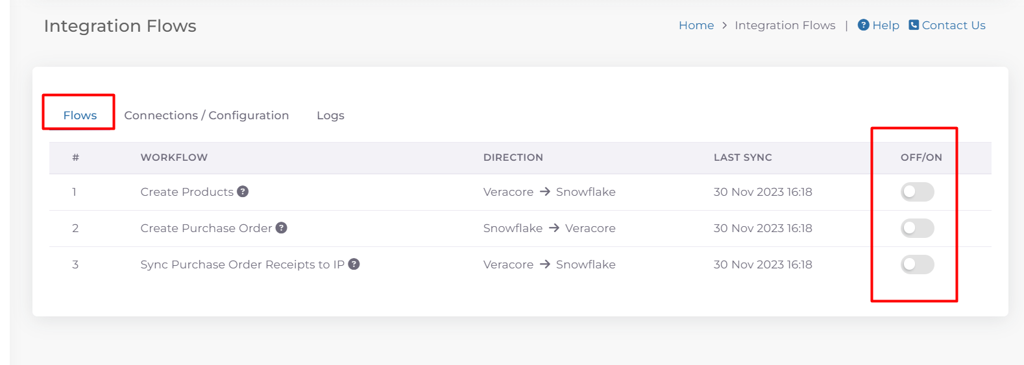
Workflow
Shows the different flows supported by the connector.
|
Workflow |
Shows the different flows supported by the connector. |
|
Direction |
Direction refers to the path or route that data follows, indicating where it starts and where it ends up. |
|
Last Sync |
The “last sync” part provides information about when the connector and the source system successfully synchronized for the last time. |
|
OFF/ON |
The Users can choose whether the data should move or not by using a designated ON/OFF switch. This switch gives users the flexibility to decide, and if they turn it off, data won’t be sent between the platforms. |
Logs
Provides a comprehensive view of all data processed by the connector, including source, destination, and timestamps.
Filters
There are different filters available using which one can filter out the data in the log table.

|
Log type |
Specifies the type of logs that should be displayed. |
|
Status |
Specifies the status of the log entry. There are different types of status in log
|
|
Filter By |
Allows you to filter the logs based on date range |
|
Reset |
When clicked, it clears all of the filters that have been applied to the logs. |
|
Resync failed |
When clicked attemp to resynchronize all the failed records |
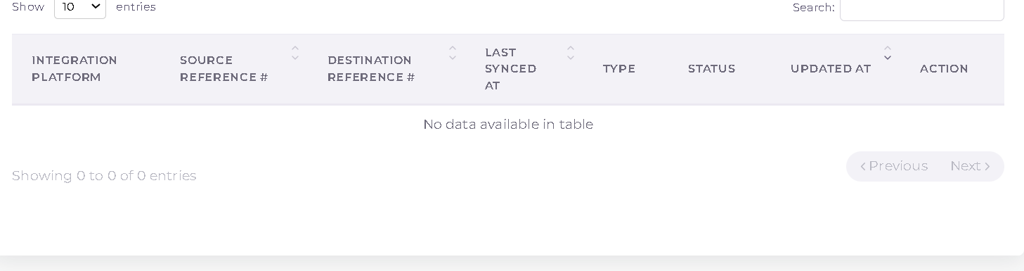
Log Table
Detailed record of data transfers, providing insights for troubleshooting.
|
Integration platform |
It shows from data flow direction between two platforms. |
|
Source Reference # |
It specifies the id of retrieved data from the Source platform. |
|
Destination Reference# |
It specifies the ID of pushed data in the Destination platform. |
|
Last Synched At |
It specifies the last time when the connector updated data in the destination platform. |
|
Type |
Specifies what type of data that is being displayed. |
|
Status |
It Specifies if the data got pushed to the destination platform successfully or http://not.It could contain Success, Failed, Ignored as Status |
|
Updated At |
Last time the connector pulled the data from the source system. |
|
Action |
The resync button is an action that can be used to try to push data to the destination again if it fails to push initially. |
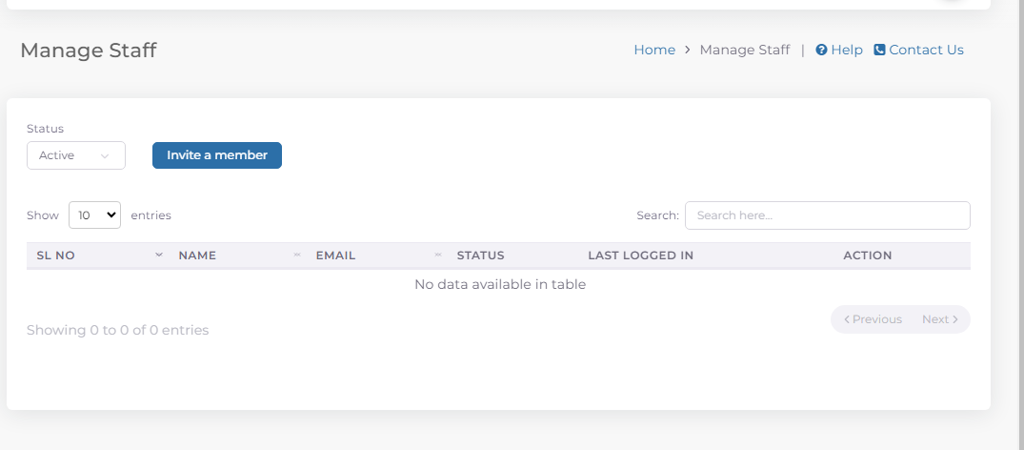
Manage Staff
This menu enables admin users to grant access to the connector to other team members by following the steps outlined below. Once a team member is granted access, they will be able to use the connector to perform tasks similar to the original user, depending on the assigned permissions.
-
Navigate to the Manage Staff Menu: Click on “Manage Staff.” A window similar to the one shown below will appear on the screen.

-
Invite a Team Member: Click on “Invite member.” A new window will appear.
a. Enter the name of the person you want to add as a staff member and their email address.

b. Specify the access permission:
View: If a person has only view access, they can only view information and cannot edit it.
Modify: If a person has modify access, they can view and update the data in the connector.
c. Once you have specified the permission, click on the “Send Invite” button. An invitation will be sent to the user at the specified email address with the login credentials.
d. The team member can then use these login credentials to access the connector.
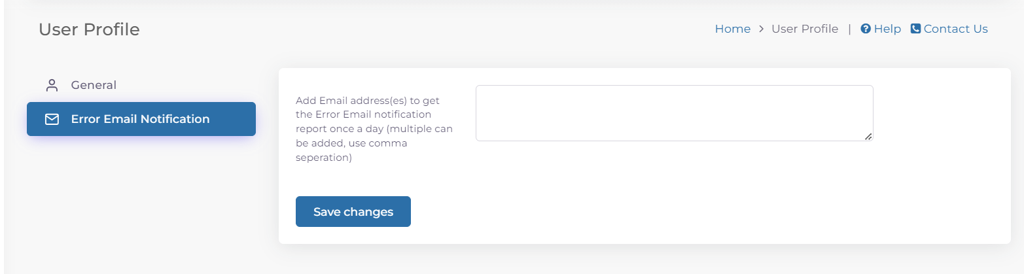
Profile
-
Click on the user icon in the top right corner and select “Profile.”

-
You can select and change the timezone in the connector and save the changes.
-
You can also add an email address to receive notifications of any errors or failed data in the connector’s log.